
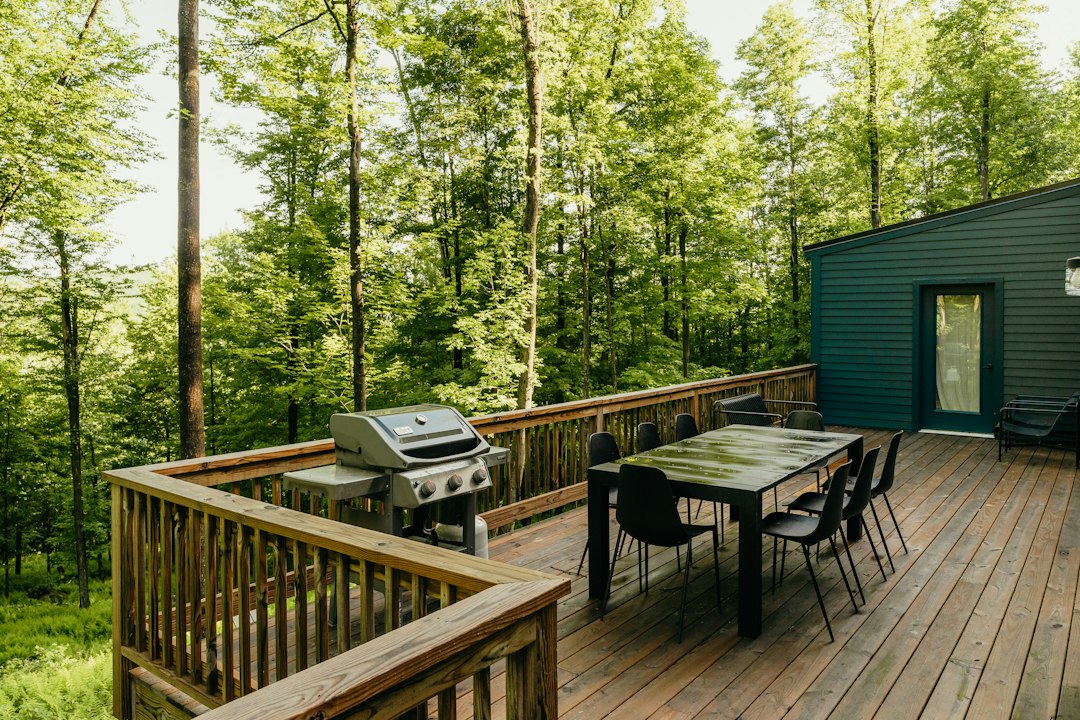

The substrate is the surface that receives the waterproofing system. It could be plywood, concrete, timber, or an older coating, and preparation depends on that material. A sound substrate normally needs to be clean, sufficiently dry for the specified product, and arranged so water can reach a drain or discharge edge. Preparation may involve removing loose coating, replacing damaged sheathing, repairing suitable cracks, setting raised fasteners, and smoothing abrupt changes in level. Ask the contractor how moisture will be assessed and what the contract allows if concealed rot appears after the surface is opened.
A useful inspection records more than visible leaks. Note the direction of boards or falls, the location of drains, the height of door thresholds, and every point where a post, pipe, or fixing passes through the surface. Photograph the underside before any demolition, then compare those images with the exposed framing. This habit can prevent an argument later about whether damaged timber existed before work began. Water may also travel sideways beneath a finish, so the stain directly above a ceiling mark is not always the entry point. A written diagnosis should explain the likely route and the evidence supporting it.
Liquid-applied membranes are one option alongside sheet membranes and other surface systems. The liquid is rolled, brushed, or spread over a prepared area and cures into a continuous layer that can be shaped around corners and penetrations. That flexibility in layout can help on decks with numerous posts or irregular edges, but it does not remove the need for careful application. Product data normally specifies coverage and wet or dry film thickness. An installer should explain how thickness will be checked, how laps or reinforcing fabric will be used, and what weather or moisture conditions would delay a coat. Property owners can review deck waterproofing information before comparing proposals.
Sheet membranes can provide a direct layout on a simple rectangular balcony with few penetrations, provided seams, laps, edges, and transitions are installed according to the system requirements. A liquid membrane may suit a deck with tight corners or many posts, though temperature, surface moisture, curing time, and recoat intervals still affect the work. Neither format is automatically superior. The decision should reflect the existing substrate, expected foot traffic, drainage arrangement, appearance, access for installation, and the manufacturer’s written limits. Read the technical data sheet rather than relying on a product name or a contractor’s broad claim that one method fits every deck.
Small details often determine whether water stays out. Flashing at the deck to wall junction must direct water away from the building rather than trap it behind the finish. A termination, where the membrane ends, needs a secure and water-shedding treatment. Rail posts, drains, pipes, stairs, and doors require compatible seals and, where specified, reinforcement. Ask for these locations to appear in the drawings or written scope. Pay particular attention to door thresholds, where a thicker build-up can interfere with opening clearance or drainage. A statement that the deck will be sealed does not describe how these changes in plane will be made watertight.
Movement also affects material selection and detailing. Timber can shrink and swell, other deck materials expand with temperature, and framing may flex under use. A movement joint or flexible transition gives connected surfaces room to shift without forcing the membrane to bridge an active gap rigidly. Flexible products can still fail if a joint is dirty, incorrectly sized, or poorly reinforced. On a second-story timber deck over a living area, the scope should address board or panel joints, perimeter edges, framing movement, cracks, and any change in plane. The installer should identify which joints are sealed, which remain open for drainage, and how each one will be protected during curing.
Compare contractors using a written scope rather than a single total price. It should identify demolition, substrate repairs, primer, membrane type, coat count, reinforcing materials, edge and penetration details, drainage changes, curing protection, and the final walking surface. Confirm whether removal of an old coating and replacement of wet framing are included or treated as variations. Ask to see the manufacturer’s installation instructions and warranty conditions, then check that the proposed sequence follows them. After completion, keep product records, photographs taken before covering, and notes about inspection points. Periodically clear drains and outlets, check exposed terminations and sealant, and use deck drainage and membrane care as a prompt for practical maintenance questions.